
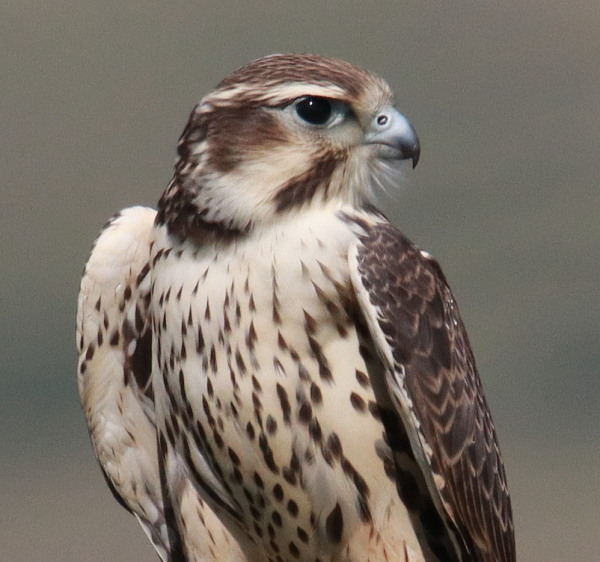
(Photo 1) This is an extreme example of how a photograph that is taken in the field in good lighting and is technically sharp, can be transformed into a portrait by simply cropping extraneous landscape surrounding the subject. When you see the original photograph taken in the field, which is provided below, it is hard to imagine this portrait was created by a simple cropping edit.
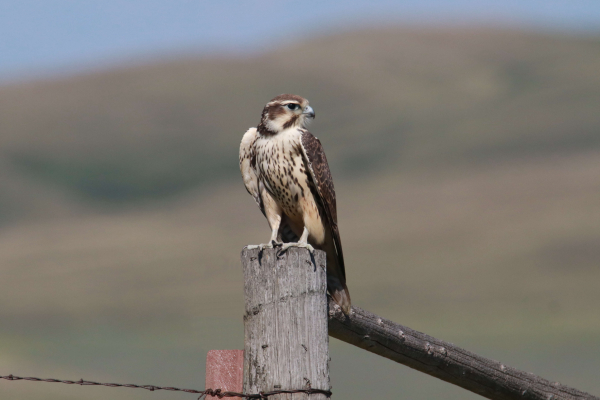
(Photo 2) The original Prairie Falcon photo used in this series of illustrations was taken using a 600mm zoom lens, f-9 aperture, 1/2500 shutter speed, and 800 ISO setting. Although this photo was taken with a 600mm magnification, it desperately needed to be cropped to eliminate excess landscape and unsightly fencing materials.
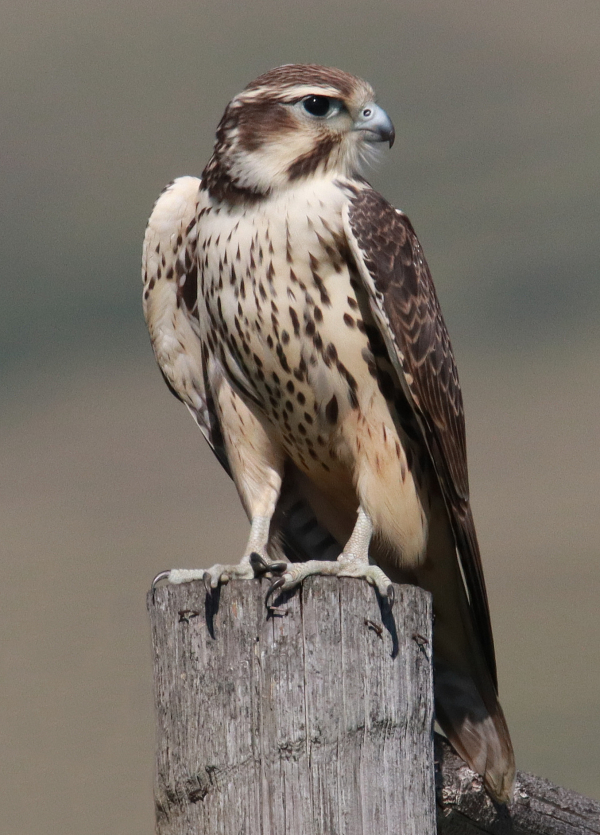
(Photo 3) The simple act of cropping the original photograph effectively enlarged the image of the young Prairie Falcon. This image shows the full length of the falcon, but I tend to prefer the following cropped photo.
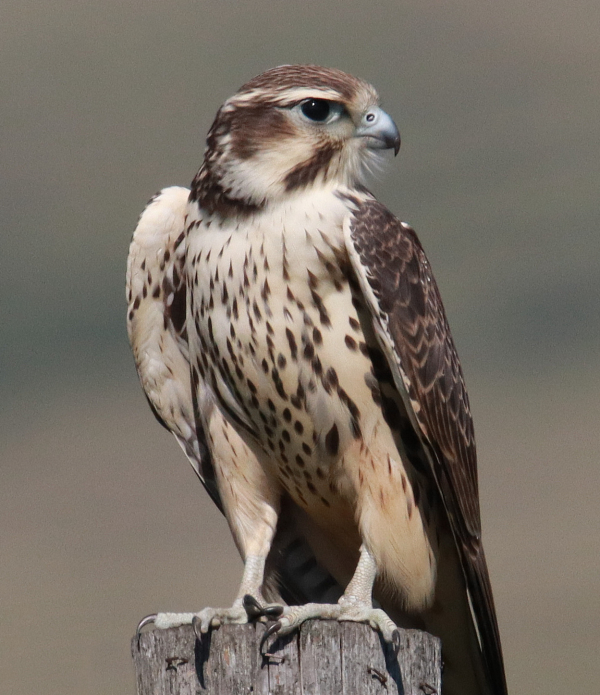
(Photo 4) For this image I made the decision to crop most of the somewhat unsightly post (and the lower half of its tail in the process), which emphasizes the bird more. While I would not suggest cropping part of a bird’s tail in a photograph, it seems this image is an improvement over Photo 3 above. If you don’t agree, it’s OK; there are 4 photos for you to choose a favorite.
|
Rarely are we able to take a perfect photograph of a bird, even in the best of conditions. But we can always improve a good photograph and make it great by using a quick and simple method – Cropping! After sharing a number of photographs of a Prairie Falcon that provided a surprise photo session last week, I wanted to share how easy it is to change the look of a single photo and improve the initial image you take in the field, sometimes dramatically. I also take that idea a step farther to show that you may have a number of cropping options that allow you to create a series of impressive images from the initial photograph.
Taking advantage of my initial luck of taking a technically sharp photo of the bird in the field, I will show you how I improved and enlarged it through the cropping process. Cropping provides 2 important services for photographers during the photo editing process: 1) it eliminates extraneous landscape, and unsightly or unwanted objects; and 2) in the process you enlarge the size of the bird in the resulting image.
Cropping is usually the first step in the photo editing process, and I try to make it the only edit I make to any photograph. I like to keep photographs as true to the original as possible, but there is almost always an opportunity to improve a photo by simply cropping it. However, when cropping, we need to be careful not to crop any photograph too much.
First, you need a high-quality photograph to begin with to keep the image sharp when cropping the original, because you are effectively enlarging the original photograph. If you enlarge a photo too much, the cropped image will lose its sharp edges and highlights, and it can show a grainy, less than clear image, especially when the background is fairly uniformly colored. But by keeping these potential problems in mind, you can catch them on screen and reduce the amount of cropping a bit to keep the photo sharp and without a grainy appearance.
From the Beginning
When I’m in the field with a bird or group of birds before me, I am always aware that I can crop the photo to eliminate unwanted objects or oversized landscape. Then, after taking a number of photos during a photo session with a bird, I like to sit down at my computer and review the images taken, pick out the photos I think have merit, and edit them as needed. Hopefully, the edit will only require a simple crop to transform the original photo into a gem. And, as an example, that’s what happened with the Prairie Falcon when I began photographing it on a prairie hilltop, and when I returned home, but there was a lot of excitement involved at both locations – a lot!
A number of photographs taken during the Prairie Falcon session provided a lot of opportunity to be creative, and for this article I picked out the best and sharpest image that would allow me to show you a variety of cropped versions that I created from that single photograph. There is no formula to cropping, aside from what looks good to you. In this case I cropped closer to the bird than I usually do, partly because the falcon is perched very vertically and by trying a few different options, the tighter vertical view was my favorite choice. Usually, I leave more space on one side, the side the bird is looking into, but in this case I opted for the closer crop to emphasize the falcon and its features.
In fact, after cropping the initial photo (Photo 2) into the full vertical photo that included the tail (Photo 3), I thought the resulting photo could be cropped a bit more from the bottom up, to eliminate the somewhat unsightly fencepost. By doing that I also eliminated the lower half of the falcon’s tail, but that part of the tail didn’t actually add much to the image, so I accepted it as a compromise. In response, that particular crop might have created the best of all the images (Photo 4). Then, considering the falcon’s eye and hooked beak were still very sharp and clear in that enlarged photograph, I thought why not take the next step and make a true portrait of the bird, and it worked quite well (Photo 1). Overall, I really like all 3 of the cropped photographs.
When you are cropping photos, you will find out that you can rarely enlarge a photo to the point of the portrait image of Photo 1, but this example does illustrate how dramatically a simple crop can change a photograph you take in the field. Ultimately, when editing a photograph, keep it simple, but don’t hesitate to crop a photo – almost every photograph needs a little cropping to improve it beyond the original image.
Article & Photos by Paul Konrad
Share your bird photos and birding experiences at editorstbw2@gmail.com