
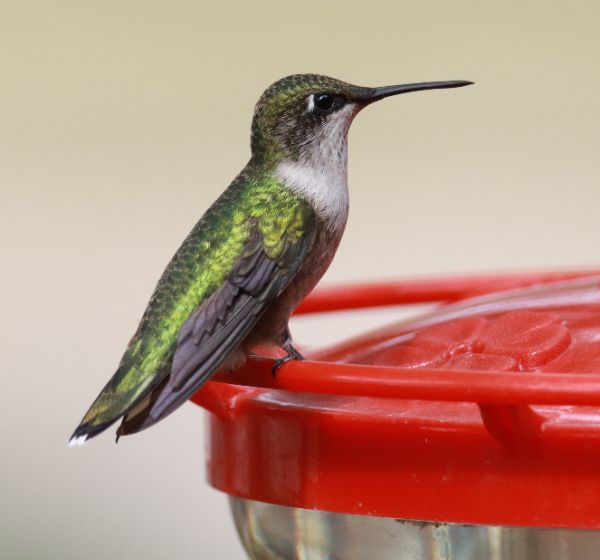
Hummingbirds always seem to be on the go during daylight hours, searching for food – flower nectar, tiny bugs, and feeder nectar. These days, with hummingbirds making stopovers that center around my nectar feeder and flowering plants, it has been a perfect time to try a little photography with these mostly willing subjects that often permit you to stand nearby a feeder or an adjacent preferred perch with your camera. A couple years ago, I surprised myself when I found out how easy it is to take quality photographs of these quick little dynamos at or near my nectar feeder or flower garden – now is when that flower garden really makes a difference.
You can likewise take advantage of visiting hummingbirds to photograph them at your feeder, as they visit your flowers for nectar, or rest on nearby perches. It's best to start by using your hummingbird feeder as a central element, and don't hesitate to take photos with hummingbirds perched at the feeder and as they are feeding. That said, here is a simple list of suggestions to make you more successful and eliminate the learning curve associated with hummingbird photography:
Timing – My nectar feeder isn't really set up for hummingbird photography, and I found there is only a short period around noon when there is direct sunlight for photographing at my feeding station. Therefore, I spent about 30 minutes during 3 recent days around noon when conditions were best for photographing hummingbirds at my feeder.
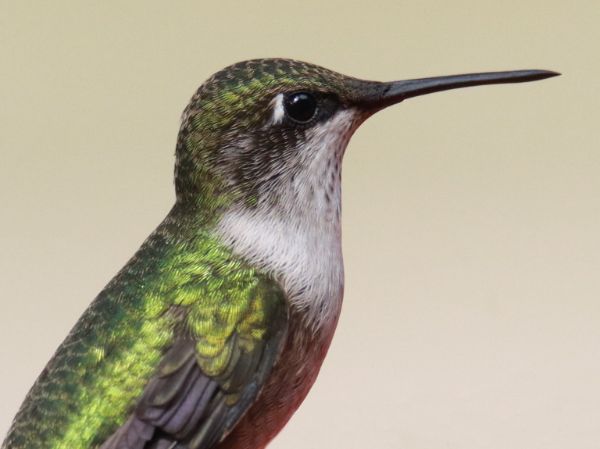
Bad Timing? – High noon may not seem like good timing for photography, but because my feeder is positioned lower than my camera when I'm standing, the more overhead sunlight direction actually works quite well to illuminate the hummingbird's plumage, including the iridescent feathers.
Positioning – When photographing hummingbirds, you can photograph from close quarters without a blind if you stay pretty motionless, but to draw the least amount of attention and reduce concerns of the birds, I stay 12 or 15 feet away.
Lighting – All important though is to position yourself between the sun and the feeder, so your shadow points at the feeder, to get the best possible illumination on the birds with the sun behind you.
Background – It is also important to keep your background in mind – the area behind the feeder within your camera's photo frame. I try to keep the background a uniform color of light green, white, or blue sky. One thing that can help is to keep your aperture setting as shallow as possible (f-4 to f-6 is good) so only the hummingbird is in focus and the background is blurred. Sometimes you can also improve the look of the background by simply taking a step or 2 left or right to improve the view.
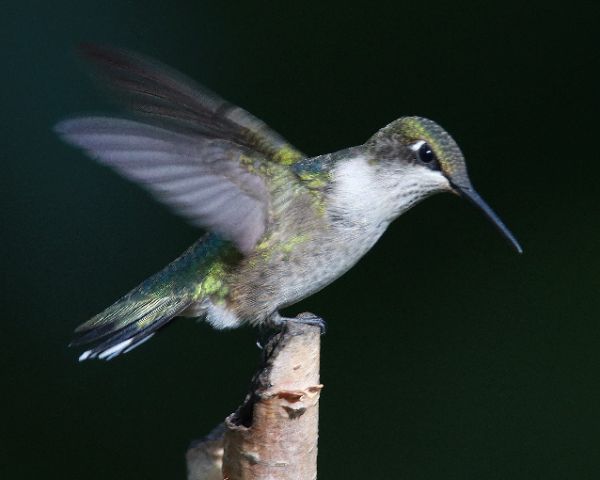
Black Background – I'm not a fan of bird photos with black backgrounds, but I did spend a half-hour during a short period of good 5pm sunlight trying to photograph from the opposite side of my nectar feeder. From that angle, the background was in deep shade that registered black on my photos, but I gave it a try, and some of the flight photos provided some interesting images. That said, I didn't repeat the process, opting for a brighter background.
Advance Photo Check – Even before a hummingbird arrives at the feeder, get into a likely position and take a photo to assess the lighting, colors, and especially the background. Then you can reorganize or reposition to improve the setting you see in the photos you take before a hummingbird arrives, if you need to adjust.
Shutter Speed – As fast as hummingbirds are, we want to use the fastest shutter speed possible, which is easiest to do by setting your mode dial to Av (aperture priority), then setting your aperture between f-4 and f-6. In response, your shutter speed will automatically change to be as fast as possible, depending on the light conditions. Don't be concerned if there is a bit of a blur to the wings; you don't need to stop the wing action completely, after all, hummingbird wings are usually seen a blur when they fly. If a photo looks good to you, that's all that counts.
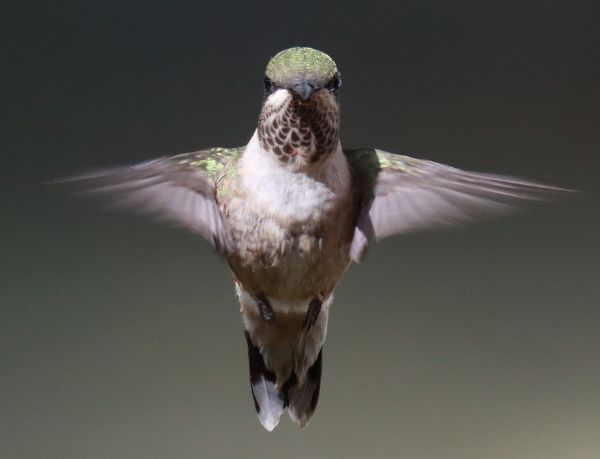
Action – It is always exciting to try to photograph hummingbirds as they are flying, and that may also be easiest when photographing at a nectar feeder. Take advantage of the moment or moments that the hummingbird provides as it approaches the feeder: Often a hummer will hesitate, hover a moment, reposition and hover again before it lands. Even after it perches to feed, a hummingbird may become disturbed and back away from the feeder to momentarily hover too, so be ready. Action photography of hummingbirds is especially fast-paced, but this technique can be productive if you try and try again.
The photographs illustrating this article were taken using the above information, and anyone can produce similar photographs simply by giving it a try. By knowing the above info, you can reduce the time it takes to photo successes, and you can improve on my tips as you see fit. I simply want to convey how easy it is to take some good quality photos of hummingbirds – as long as you are using a camera (not a cellphone cam). If you use a camera with a zoom lens, that adds a lot to your photo experiences and results. You can always improve on photos by simply cropping extra background space and thereby enlarging the bird in your photo frame too. Give hummingbird photography a try – it's easy – enjoy the experience and good luck!
Article and Photos by Paul Konrad
Share your backyard birding experiences and photos with The Birding Wire at editorstbw2@gmail.com