
Today’s darkroom is our computer, and our photo editing software provides another dimension to your bird photography experiences. Digital photography and resulting photo quality has improved in remarkable ways during the past 20 years, and so has photo editing. A few simple editing options can help improve most photos appreciably, and even salvage a photo you might otherwise discard. If a photo needs some darkroom editing, give it a try, and improve your image with a minimum of changes. My initial suggestion is to keep any edits simple, keep the image as natural-looking as possible, and don’t edit unnecessarily.
Last week we copied and organized our photo files, so now as we begin the photo editing process, continue using your filing system. When you have selected a photo to edit, as a rule you should protect the original photograph by leaving it in its unedited form in its original file in case you want to refer back to it another day. To begin the editing process, make a working copy of the image you wish to edit simply by giving the photo a new name.
For now, let’s start with learning how to use three simple photo editing techniques: 1) cropping, 2) brightness and contrast, and 3) sharpness. With a little practice you will quickly learn to use these three simple editing steps – and you will be impressed with most of the results. Give it a try if you haven’t already started editing some of your photos in your computerized digital darkroom. Then, if you want to try some other options, you have a basis to work with using these initial techniques.
Software Options
There are a lot of photo-editing software programs you can choose from; just type the subject “photo-editing software programs” into a search engine to reference a number of them. For me, it comes down to two software programs, and I prefer Paintshop Pro, which is economic (on sale now for less than $50), easy to use with high-quality results, and it does not require an annual subscription charge. For the record, Paintshop Pro was rated the Best Overall by “Top Ten Reviews” for photo-editing software priced less than $100. In fact, you can use this program for free for 30 days to see if you like its photo editing qualities.
Adobe Photoshop has been an industry standard for many professional photographers. Photoshop provides high-quality results, but it is expensive, and now it requires an annual subscription charge. A better Adobe option may be Adobe Photoshop Elements, which is much lower priced and simpler to use I expect, but I haven’t used the most recent versions of this product to offer a review.
Here I will provide a simple step-by-step description of how to edit a photo using my software preference, Paintshop Pro. If you choose to use another software program, you should be able to do similar editing using your program.
First, there are two helpful pairs of buttons that will be invaluable as you edit photos: A) On the menu of the Edit page, there is a pair of arrows pointing downward. The left arrow is the Undo arrow, which allows you to return to the image as it was before your last action. The right arrow is the Redo arrow, which will take you forward to where you were before you clicked the Undo arrow. B) Use the + and - buttons on the menu to magnify or reduce the size of the image you are editing on screen.
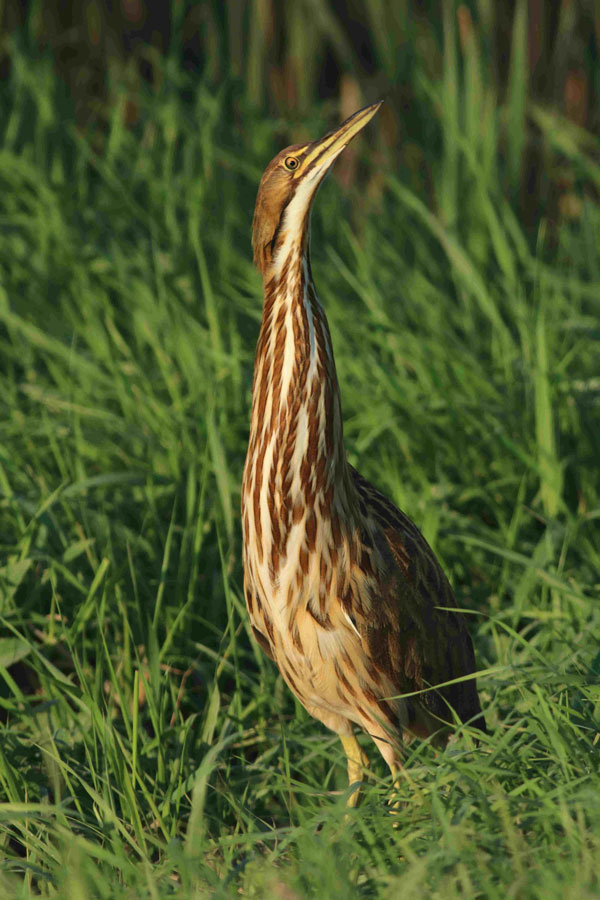
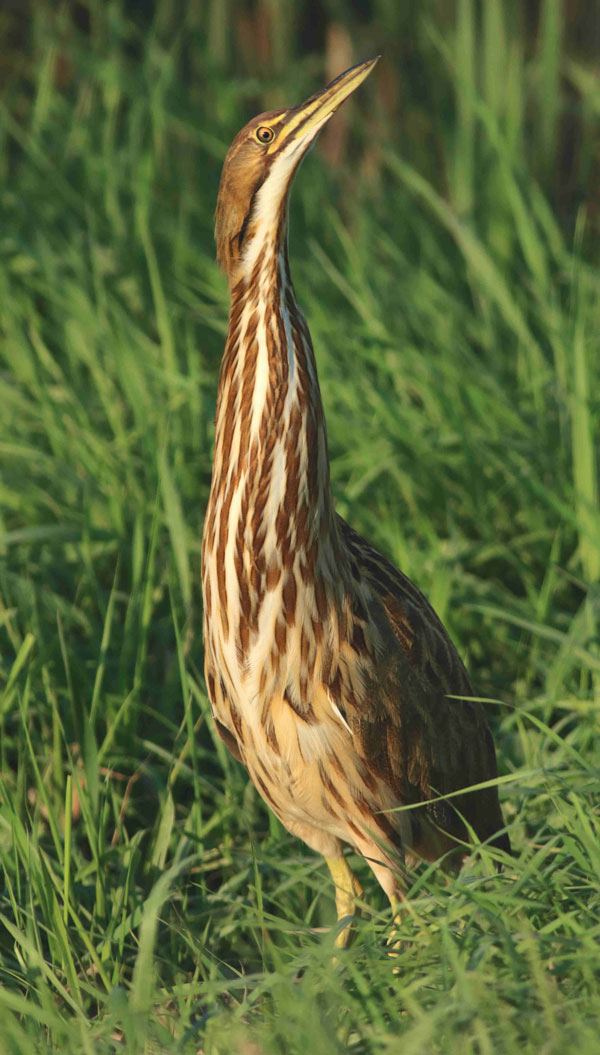
Cropping – If a photo has extraneous background, or if you would like to increase the size of the subject in a photo, try cropping some of the image – usually the sides, top and/or bottom simultaneously – but possibly just one side or another option.
On the Edit page, look for the “Crop Tool,” click it, and a rectangular box will appear over your photo. You can move each side of the ‘crop box’ to eliminate portions of the image, then click the green checkmark and the cropped image will appear minus the cropped area.
If you like the cropped photo, you can save that image, or you may wish to re-adjust and re-crop as you see fit. You can always click the “Undo” arrow on the top menu and revert back to the original image to re-crop from that starting point. It’s easy, and you will quickly appreciate how helpful cropping is to improve some photos. One warning though: Don’t over enlarge the image; which will create a grainy background, especially if the background is fairly uniformly colored sky.
Design Tip: When cropping a photo, rather than positioning a bird in the center of the image, try to position the bird to one side. Provide a little or a lot of space in front of the bird, to provide some space for it to look into, fly into, swim into – you get the idea.

2) Brightness and Contrast
If you have a photo that is too dark, or too light, you can improve the image appreciably during the photo editing process. In the Edit page of Paintshop Pro, click the “Adjust” button, then on the resulting drop-down menu, click the “Brightness and Contrast” option that permits you to improve these two adjustments separately. Usually, you will adjust the Brightness scale to lighten dark or shadowed images. Conversely, you can adjust the Contrast scale to improve a photo that is too light or looks washed out. This editing process is simple but it can be a remarkably impressive way to improve a photo that is too light or dark.
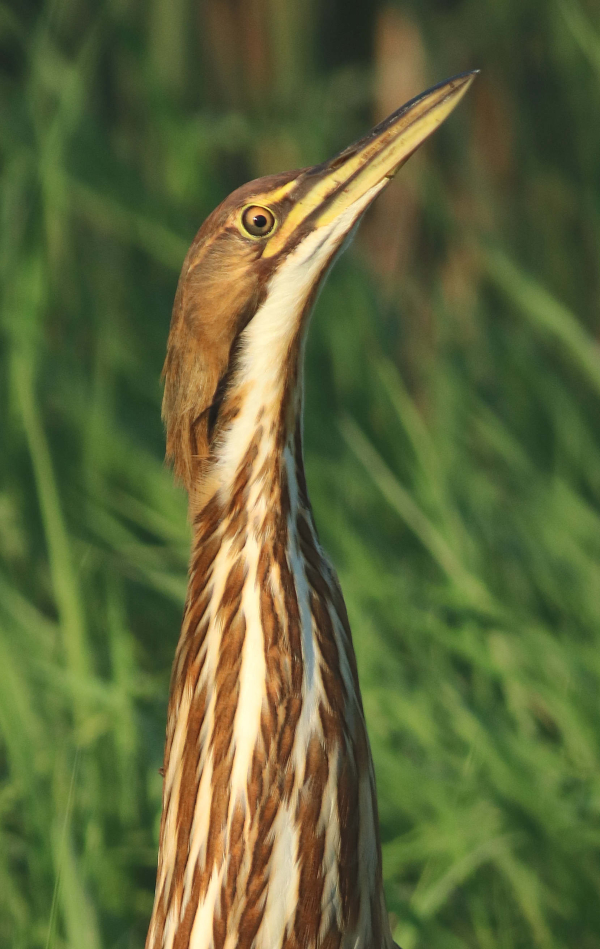
3) Sharpness
“Sharpness” is also listed under the “Adjust” heading’s drop-down menu. This can be a helpful effect for photos that are not as sharp as you would prefer. The result of simply pressing the “Sharpen” or the “Sharpen More” button can be impressive. I would only use this feature if you think the photo you are editing is unsharp. Over-using the Sharpness feature may make the image grainy-looking – but sometimes it’s a balancing act between sharper and grainy. When judging sharpness of a bird photo, focus on an eye to assess the effect of this editing method.
Overall, one suggestion is not to over-color photos when editing them. You can add color by increasing the Contrast, but keep try to keep the color natural-looking rather than over-enriching the existing colors. Another suggestion is to avoid cropping a small image of a bird too closely, which often results in a grainy image. But you will learn through experience to judge these and other aspects of editing photos with computer software, and you will make a few personal adjustments as your photo editing expertise evolves.
There is plenty of information about how to use more advanced editing options from specific software manufacturers. And you can inform yourself about photo editing techniques by reading software instructions and trying photo edits. Certainly, there are a multitude of other options, but I keep my photo editing simple, and thereby keep each photo as natural as possible. Photo editing can be an enjoyable and impressive part of the bird photography experience. Enjoy the process, and Good Luck!
For more information about photo editing software programs, you can refer to the following websites:
Corel Paintshop Pro: https://www.paintshoppro.com/en/products/paintshop-pro/
Adobe Photoshop: https://www.adobe.com/products/photoshop/
Top Ten Reviews: https://www.toptenreviews.com/software/multimedia/best-photo-editing-software/
Article and photographs by Paul Konrad
Share your bird photos and birding experiences at editorstbw2@gmail.com