
We’ve emphasized shutter speed as an important aspect of bird photography, especially for action photos, but all camera settings create a bit of a give and take. The most obvious of these balancing acts is the one between shutter speed and aperture, and the interactions between these two camera settings dominate bird photography – well, any kind of photography.
First, let’s look into aperture, as simply as possible, and simple is really all that’s important; then we’ll explore how aperture interacts with shutter speed. Best of all, we’ll see how to use aperture to create better photographs of birds in the field and in your yard and neighborhood.
Aperture dictates the depth of field that is in focus – the area in focus. In some cases you want a broad depth of field in your image, in other cases you will actually want to limit the area in focus.
Aperture is described by f-stops that can range from f2 to f32, although the range of f-stops will differ depending on the lens you use. Simply put, a small f-number provides a small area in focus; a larger f-number provides a larger area in focus. Therefore, an f4 aperture provides a smaller area in focus than an f14 aperture setting. An f8 has a wider area in focus than an f5.
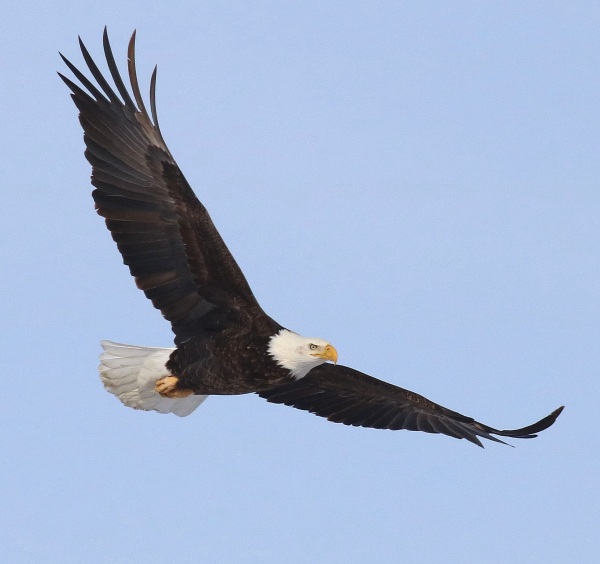
When using a telephoto lens, say a 400mm telephoto, your f-stop range will be fairly limited when photographing birds. Using my telephoto, I find myself using apertures between f5 and f11 almost exclusively, and most often I use an f-8 setting for general settings. An f-8 aperture provides a good workable area in focus for all-around bird photography, including photos of large birds in flight. The same is true if you’re using a zoom lens at its higher range of magnification, say 300mm to 400mm.
Portrait Focus
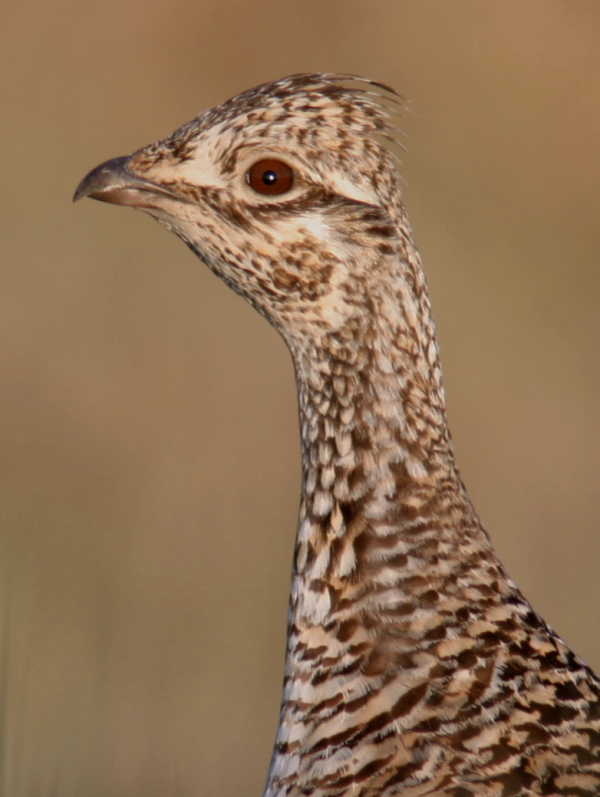
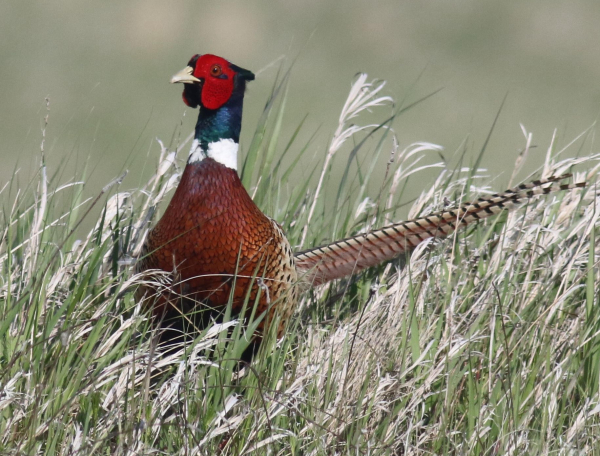
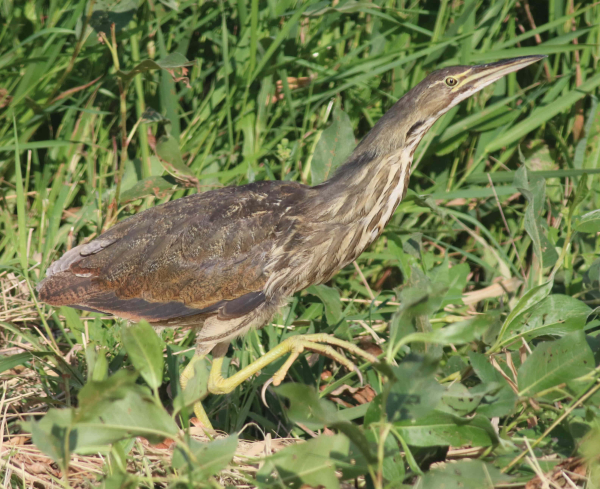
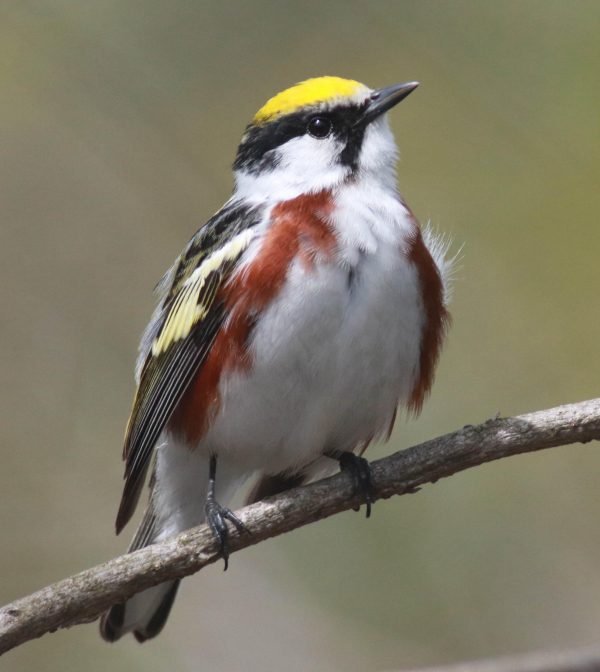
There are times you will want to emphasize a small area of focus, say by using an f5. Sometimes, rather than trying to tie the background into the photo, the background can be distracting, even unattractive. That’s when a small area of focus can produce a most pleasing photo by blurring the background out of focus – effectively blurring the area behind the bird to a fairly monotone color. A field of green grass is turned into a pleasing green unobtrusive background, or a dry prairie landscape is turned to a fairly uniform tan background that emphasizes the bird, in much the same way a studio photographer does to take human portraits.
This is especially affective if the landscape or plants are a few feet or more behind the bird’s position. By using an f5 aperture, your photo will blur the background to provide monotone coloration. Conversely, if you use an f11 aperture, you will get a busy background that will show some level of detail in the grasses, branches, leaves, and other landscape elements. That can be affective in certain contexts – it’s up to you as you put some thinking into the creative process of photography.
The Balancing Act
Aperture, however, does not work independently. Aperture is linked to shutter speed, as noted at the beginning of this article; so for each aperture adjustment you make, your shutter speed setting is affected. Therefore, you must prioritize your aperture setting, or your shutter speed setting, to get the photo you prefer.
Often you don’t have a lot of time to make adjustments to your camera settings, but I never use an automatic setting and wish to encourage you to follow that plan. Instead, I use the superior aperture-priority setting, usually denoted as an AV setting. In that case, I set my aperture setting at f8 and with good sunlight, I usually get an appropriately fast shutter speed which the camera sets automatically – faster than 1/500 second if possible. If there is lower light quality, I reduce the f-stop to increase the shutter speed. Or if you want a short area of focus to reduce the background “noise,” you change your aperture to f4 or f5 and the aperture priority will adjust the shutter speed automatically.
Sometimes, especially when a bird offers you an opportunity to photograph it during an extended period, you can make these adjustments, and even try a couple settings to test what works best for you – a portrait-like background using an f5, then change to an f11 aperture for an “au natural” background for instance. With time, you will have your own preferences and appreciate what works best for you under different conditions and in different habitats.
Whenever taking photos of a bird, and especially when using a small area of focus setting, be sure to focus on the eye of bird. That way, if not all of the bird falls within the in-focus area, the eye or eyes are sure to be in focus. If the tail shows a little blur, that’s acceptable, but we always want a sharp eye in our photos.
By referring to the photos that illustrate this article, you will get a better appreciation for how to use the aperture setting in the best possible ways to get the best photo results. Keep the sun at your back and enjoy all your photo experiences as fall progresses.
Article and photographs by Paul Konrad
Share your bird photographs and birding experiences at editorstbw2@gmail.com