
We all use zoom and telephoto lenses that aid us by magnifying the image of birds we photograph, but after you’ve stretched your lens to the limit and approached the bird as close as possible, you can still enlarge any bird photo by using the simple darkroom technique of cropping any photo. Of course, today computers are our digital darkrooms, and we utilize photo-editing software to do some simple cropping. Cropping a photo you have already taken is a simple way of enlarging the bird image, and it offers an opportunity to re-compose the framing of your photographs.
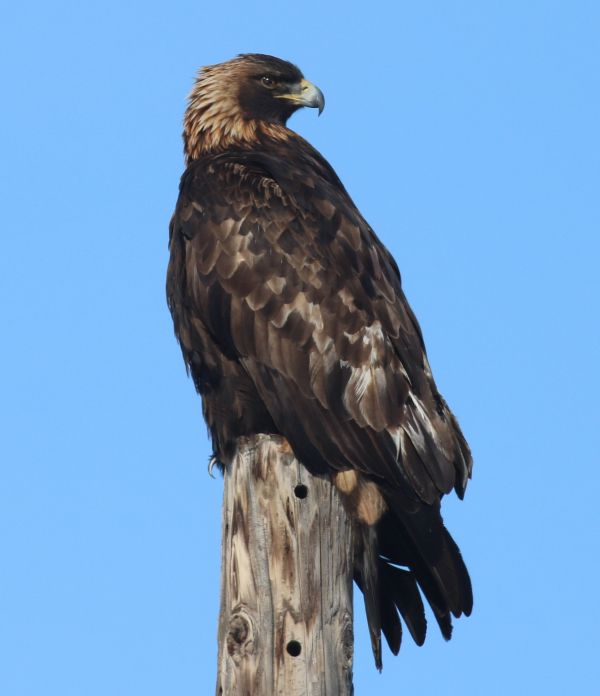
I offer a couple photos as examples of how you can crop a photo, not once, but twice – to enlarge the size of the bird within the frame, and to improve the presentation of the image via the design of your photo frame. I selected a portrait of an adult Golden Eagle perched atop a weathered post, and a photo of three Western Bluebirds on a weathered branch. Both photos were originally cropped once to make the most of the image; but then I cropped each of them each a second time to enlarge the image even more, and to vary the framing and balance of each photograph.
To accomplish this, select a very sharp, high-quality digital photograph that can be enlarged without creating too much grain in the resulting image. Then, just give it a try. Using the photo-editing software, use the cropping tool to frame the portion of the original photo to reduce the size of outlying portions of the image, thereby focusing attention on the bird(s). You don’t need to use the traditional horizontal or vertical photo-shaped rectangle – use your own judgement to decide how to crop each side, the top, and bottom to create an elongated rectangle, or a square, or any other four-sided frame (some software may provide a circular or oval option too).
Never fear, if you don’t like the way your cropped photo turns out, you can always return to the original image to change the cropping frame and give it another look. That’s part of the fun; part of the process of trying one look, and either keeping it, changing it, improving on the first crop, or starting all over again.
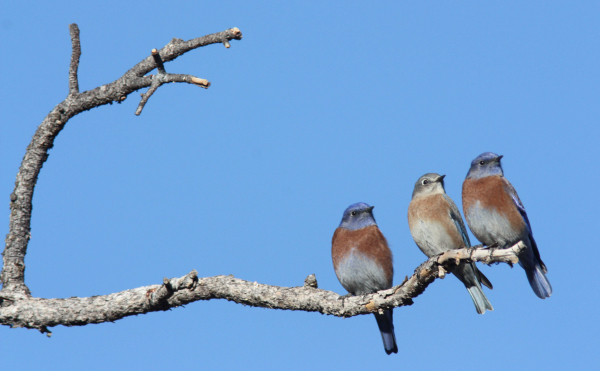
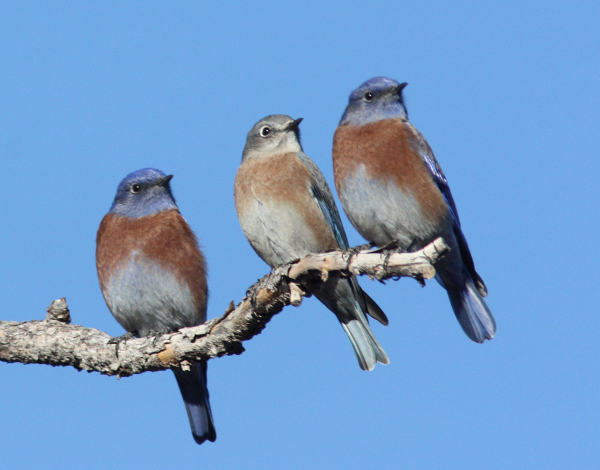
As you can see in the two photos I used to illustrate this process, I cropped the initial photograph twice. Both Western Bluebird images I’m sharing with you were made from the same original photo, but each resulting image is quite unique. For the first cropped image, I used an elongated frame to include the natural lines of the weathered branch. Then I focused in much closer by squaring a much smaller frame to show a close-up of the bluebird trio in the second cropped image.
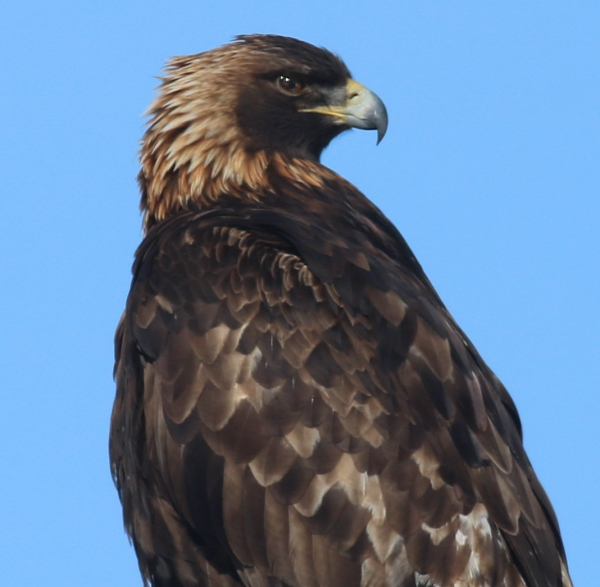
Similarly, I did not have space here to share the original Golden Eagle image, but I show two different cropped images to give you an appreciation that even after you have cropped the initial photo into a nice image, you should keep your creative juices flowing and consider one more step – even without abandoning the first cropped image. Although I was so close to the trusting eagle that it nearly filled the photo frame in the original photo, I cropped the image in a unique vertical frame that emphasizes the bird and its perch exactly, with a little extra blue sky space in the image. Then, even though I was happy with the initial cropped image, I tested how much I could enlarge the photo by cropping the full-sized eagle into a head and shoulders portrait. I like them both.
As noted, you can emphasize the design aspects of the cropping process. Even after composing the photo through your camera’s viewfinder, you can adjust the overall look of any photo by shaping your own photo frame. Often I find myself “repositioning’ the bird within the frame I compose; perhaps to position the bird(s) to one side or the other, as in the first bluebird image. I usually prefer framing photos so the bird or birds are on one side or the other, even just a little more to one side, rather positioning a bird in the center of the frame. The Golden Eagle photo was originally a horizontal image, but it was simple to turn the horizontal into a vertical image. Another “rule” I like to use when positioning the frame is to give the bird some extra space to look into – or fly into. If the bird is facing left, I usually leave a little extra space, or a lot extra, to the left; less on the right. But no “rule” is a rule in an artistic endeavor, and anything goes, as long as you like the way it looks. And you can always make two images, or more, if you are pleased with them.
So remember, the photographic process doesn’t end when you press the shutter. In fact, it’s not a bad idea to take some photos with the idea that you will be continuing the framing process, and the editing process, in your computer darkroom; even though it’s also good to compose the initial image in camera through your viewfinder. Enjoy the process, and consider which photos you may be able to improve by re-framing or enlarging, or both.
Article and photographs by Paul Konrad
Share your bird photographs and birding experiences at editorstbw2@gmail.com