
There is some underlying artistry in every photographer, and most photos. For the most part, we birders tend to be science-oriented and try to produce photos of birds that are accurate depictions of the birds we interact with. But the artist in us sometimes permits us to imagine beyond true nature, and slip into a creative second dimension. Winter weather in particular, whether it’s rainstorms in the south or blizzards in the north, can provide some free time to let your creative juices flow in new directions. Sometimes working with a photo or group of photos, you can overpower the images with an artistic flare – just for fun.

An artistic angle on photo editing can be fun for some people, and it may be inspiring to others. Young photographers may excel in the process, and find their own ways of changing and creating artworks from photos. Adults may enjoy the process just as much as a way to get to know the design options your photo software provides. It may also be a project you can share with younger family members – instead of building nest boxes together in the garage, you may enjoy showing children how to have some fun in the digital darkroom – your home computer or laptop.
I’ll start you off with a few simple artistic and design options you can try; but first, let’s touch on photo editing software. I personally prefer to use a relatively simple, pretty inexpensive photo editing software, Paintshop Pro by Corel. Some people prefer Photoshop or Photoshop Elements from Adobe, and there are several other software options, so whatever software you use, or choose to buy for photo editing, they are all good for this simple exercise.
I’m going to use menus on Paintshop to describe the simple design changes I make to a couple photos to introduce you to how simple and fun this aspect of photo editing can be, and how it can be useful in designing logos, signatures, internet banners, and print material – so this artistic angle of editing selected photos can be very productive by providing personalized designs and a more polished image to your varied communications. Anything is possible within the art realm, right? So have some fun, let your creative juices flow, and spend a little time investigating your software and see where the process takes you.
Simple Photo-Art Fun
To begin with, pick out a couple photos that you would like to work with. Include one with a uniform background, another that is a silhouette, and a favorite image or two that you think might provide the basis for some photo art.
Next, investigate your photo software. For me, using Paintshop, I went through the menu options, starting with the “Effects” button, but also utilizing the “Image” and “Adjust” buttons to do a little experimenting. Click on the word Effects, and the drop-down menu will include a considerable variety of options you can try, including Photo Effects, Artistic Effects, Art Media Effects, and others; and even within these categories, there are a wealth of options to try on any photo.
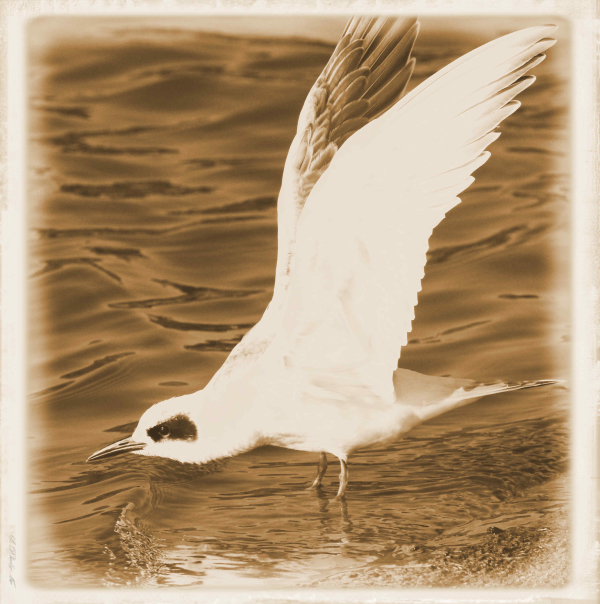
Under Photo Effects, you can do some standard edits, including changing a color photo into a negative, infra-red, black-and-white, or sepia tone coloring; and check out the Time Machine options, which provide a very historic look to a given photo, hailing back to the first generation of photography.
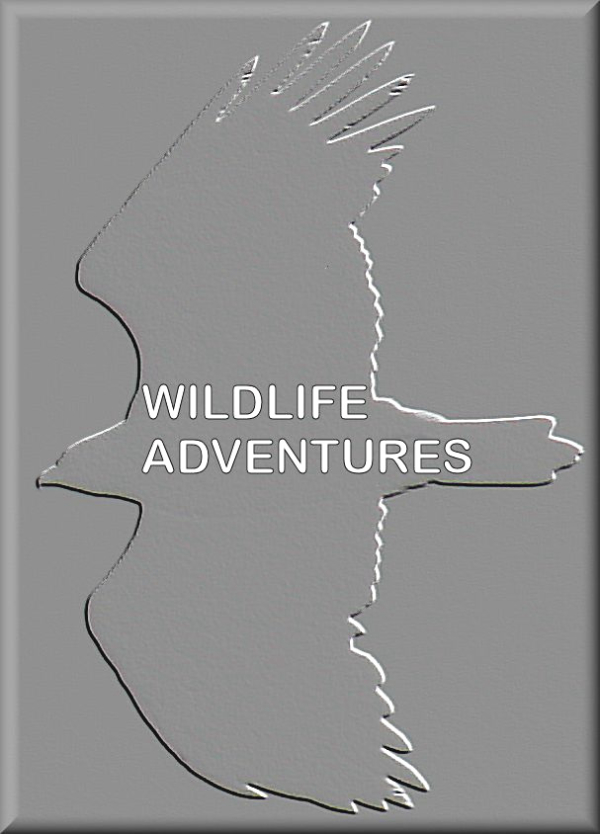
Artistic Effects offers some wild options, including posterize, chrome, colored foil, neon glow, and other effects that are fun to try. Keep in mind that each photo will be effected differently depending on its individual qualities and colors, so if a photo doesn’t work well for one option, try a different photo and see how it turns out. I actually used the “Chrome” option to create a company logo, using a simple silhouetted image of a Golden Eagle I photographed as it flew by while hiking a mountain pass in central Alaska. I also added the name of the company to that image, which is easy to do by using the software’s Text Tool. Finally, I used the “3D” option in the Artistic Effects menu to “Buttonize” the logo to give it more dimension.
Art Media Effects provides some means of transforming your photo into a drawing or painting, or using a pencil, brush, charcoal, or chalk medium. These options may take some extra practice; try changing some of the number settings to see if it will improve your results – it’s all part of the process.
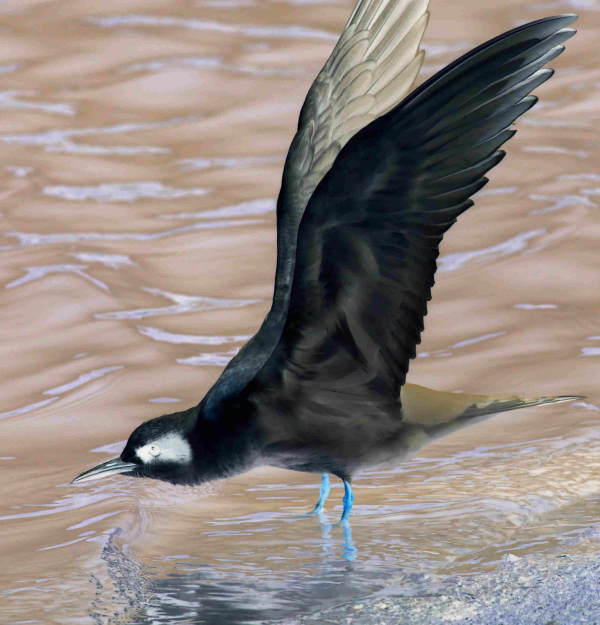
Click Image to access more artistic options – some as simple as flipping an image that points left to make it point right, by clicking “Image,” then “Mirror,” and “Mirror Horizontal.” You can also create a “Negative Image” under the “Image” heading to see what an opposite color palette would create.
If nothing else, this effort will get you in better touch with your software, and give you a chance to test some features that you don’t usually use, or even try. When questions arise, you can always consult your software’s User Guide, or contact the software company – some even provide live chat help sessions online.
Undo or Save As
When working with any of the art-oriented editing options, you can always revert back to your original photograph by simply clicking one arrow – the Undo arrow on the top menu. And when you like the way a given photo has been transformed into artwork, be sure to save it under a unique name in your photo files. After saving the image, you can click the Undo arrow until you’re back to your original photo, ready to try another art form or design option.
The rest is clearly up to you as to how far you want to investigate, try, and use the many options available through your photo editing software. Who knows, this can prove to be an interesting and creative way to expand your enjoyment of bird photography. Artists produce amazing results doing just this kind of investigation and production, and so can you. Have some fun and see where your imagination leads you.
Article and photos by Paul Konrad
Share your bird photographs and birding experiences at editorstbw2@gmail.com